Introduction to Butterfinger Cheesecake
If you’ve been searching for that perfect dessert that delights your sweet tooth and melts in your mouth, look no further than Butterfinger cheesecake! This delectable treat combines the rich, creamy texture of cheesecake with the delightful crunch and flavor of Butterfinger candy bars. It’s a heavenly fusion that will surely become a favorite at your gatherings or quiet evenings at home.
What is Butterfinger Cheesecake and why you’ll love it?
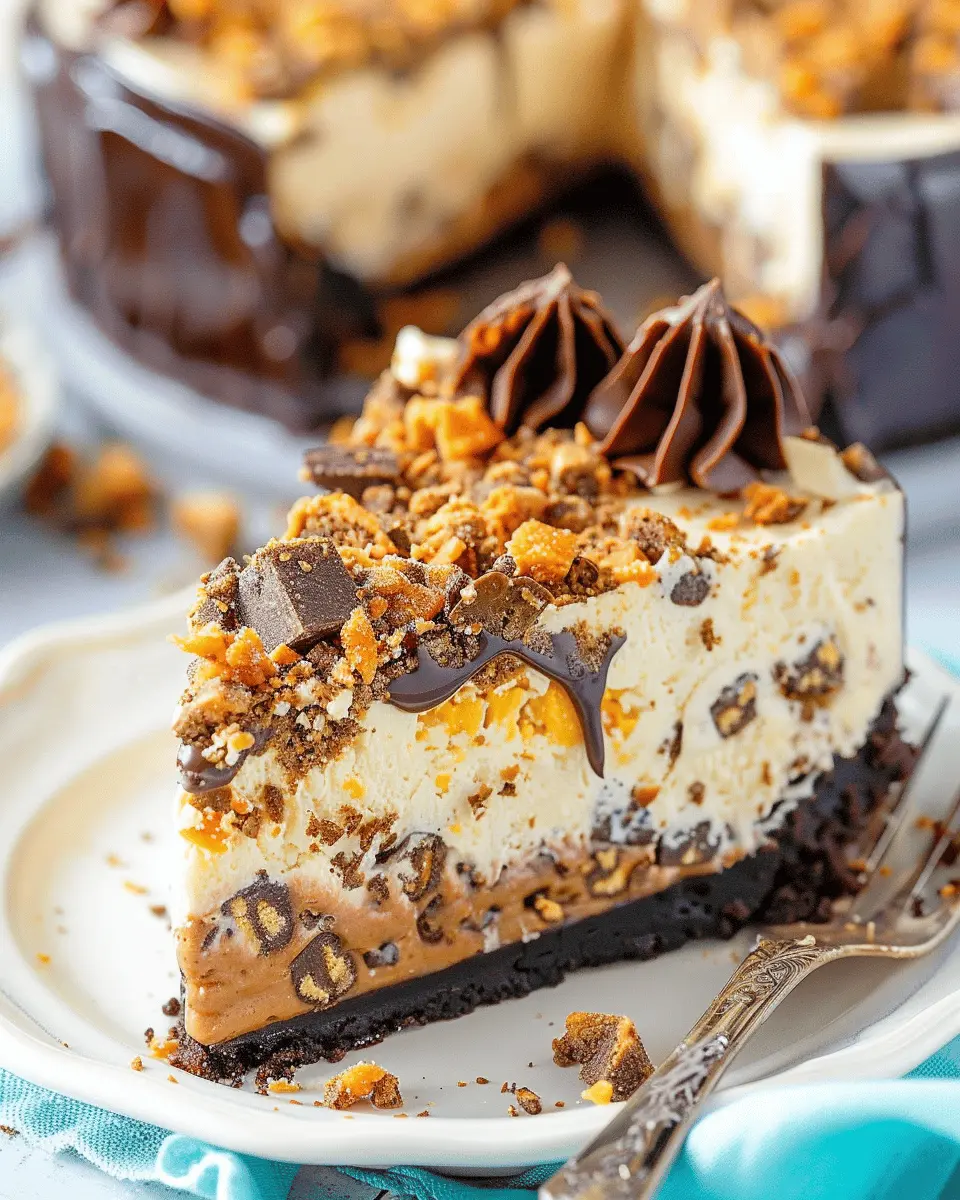
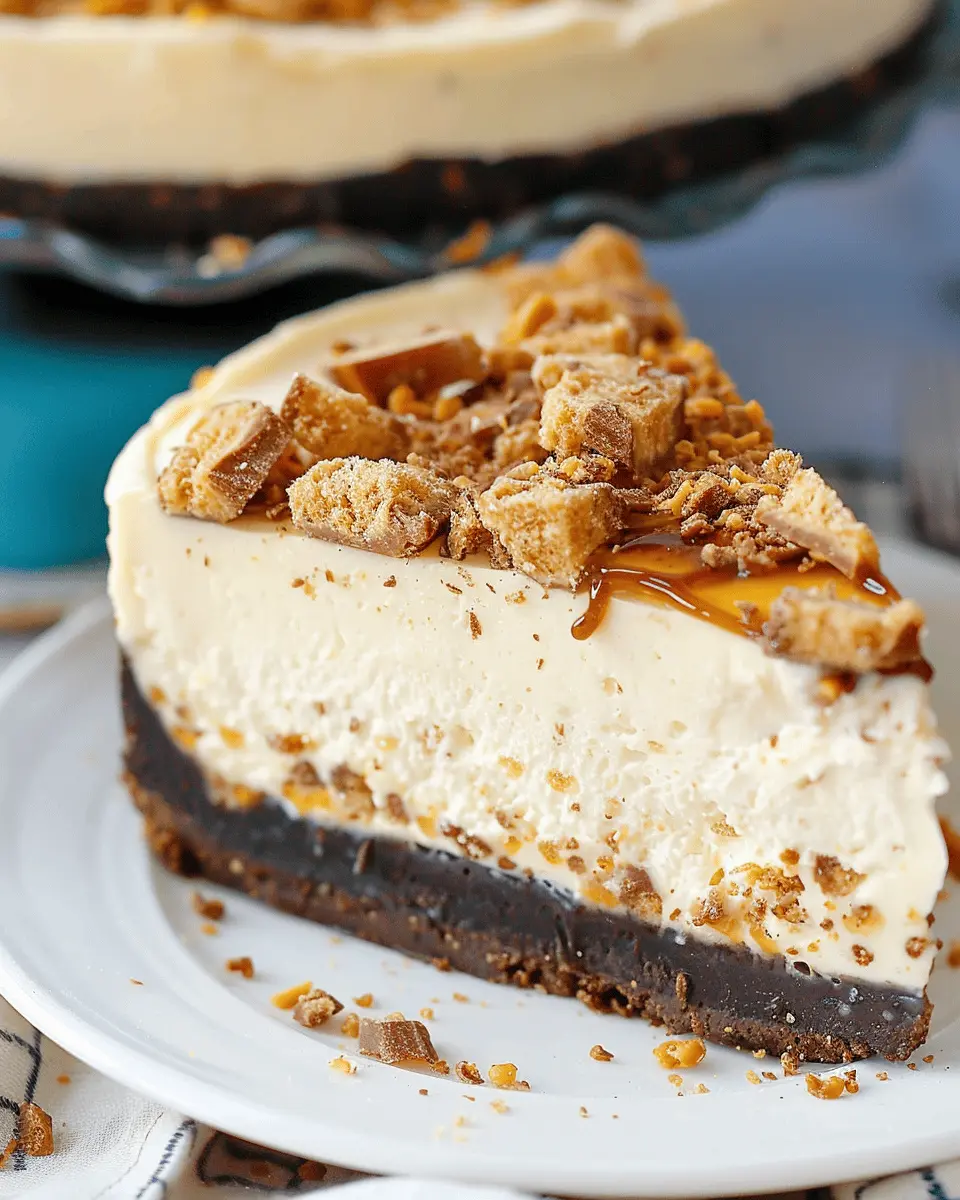
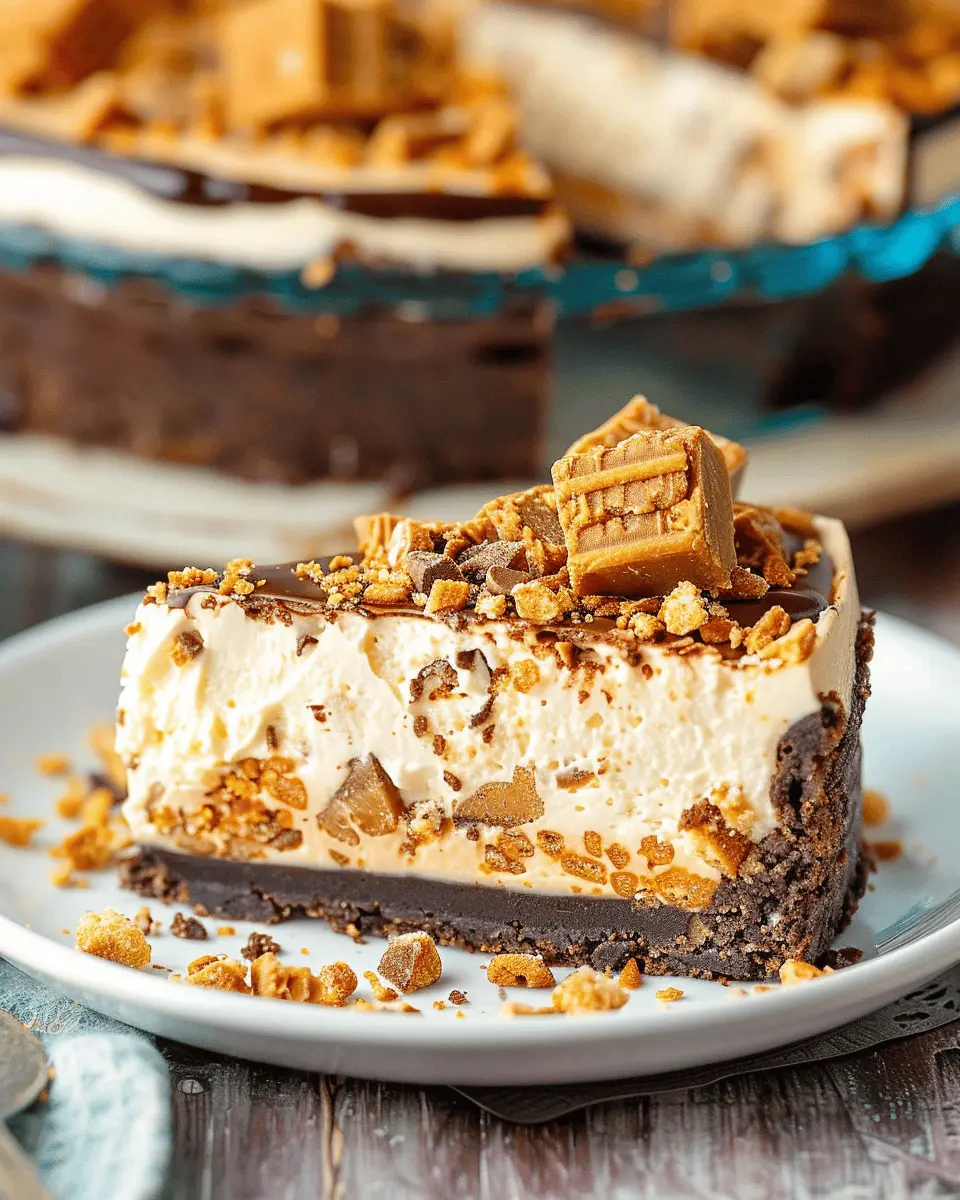
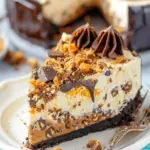
At its core, Butterfinger cheesecake is a luscious cheesecake that incorporates chopped Butterfinger candy bars into the batter, creating a delightful contrast between the creamy cheesecake and the crunchy candy. Imagine a base made from buttery graham crackers, followed by a rich cream cheese filling that’s been infused with butterfinger love, and topped with even more Butterfinger bits and perhaps a drizzle of chocolate or caramel sauce. It’s a taste experience that perfectly balances sweetness, creaminess, and that oh-so-satisfying crunch.
Why will you love this dessert? For starters, it’s incredibly easy to make. Whether you’re a seasoned baker or a complete novice, this recipe is straightforward and yields impressive results. Plus, it’s a crowd-pleaser! Friends and family alike will marvel at your baking prowess when you present this stunning dessert.
Moreover, Butterfinger cheesecake is versatile. You could serve it at birthdays, holidays, or casual get-togethers; the possibilities are endless. Plus, consider pairing it with a refreshing glass of cold milk or a rich cup of coffee for the ultimate indulgent experience. If you take some time to explore the history of cheesecake, you’ll find that this dessert is not just a simple treat; it has a rich tradition that adds to the joy of making it.
So, grab those Butterfinger bars, gather your ingredients, and get ready to create a dessert that’s as impressive as it is delicious. Your palate will thank you!
Ingredients for Butterfinger Cheesecake
When it comes to creating a decadent Butterfinger Cheesecake, the right ingredients are essential for achieving that rich flavor and creamy texture. Let’s break it down into three key sections.
Essential Ingredients for the Crust
Your cheesecake begins with a solid foundation, and for the crust, you’ll need:
- Graham cracker crumbs – about 1 and ½ cups
- Unsalted butter – ½ cup, melted
- Granulated sugar – 2 tablespoons
Mix these together to form a cookie-like crust, which really sets the stage for your cheesecake.
Ingredients for the Luscious Filling
Now for the Butterfinger Cheesecake filling that makes this dessert irresistible. You’ll require:
- Cream cheese – 16 ounces, softened
- Granulated sugar – ¾ cup
- Sour cream – 1 cup for that smooth finish
- Vanilla extract – 1 teaspoon
- Eggs – 3 large
- Chopped Butterfinger bars – about 1 cup, because who can resist that crunch?
These ingredients come together to create a filling that’s both fluffy and rich.
Topping and Decoration Essentials
To take your Butterfinger Cheesecake over the top, consider these finishing touches:
- Whipped cream – about 2 cups, for that lovely, light texture
- Chopped Butterfinger bars – for sprinkling on top
- Chocolate sauce – to drizzle; it adds a sweet contrast.
These simple ingredients enhance the cheesecake visually and highlight that delicious Butterfinger flavor. For more tips and tricks about dessert making, check out The Spruce Eats or Food Network for inspirational ideas. Enjoy baking!
Preparing Butterfinger Cheesecake
Ah, the delight of making a Butterfinger Cheesecake! Trust me, it’s a lot easier than it sounds, and the end result will make you the star of any gathering. Let’s dive into the process step by step, so you have everything you need to create this delicious dessert masterpiece at home.
Prepping the crust
First things first—the crust! You can think of it as the foundation of your Butterfinger Cheesecake, and we want it to be sturdy yet buttery. Here’s what you need:
- 1 ½ cups of graham cracker crumbs
- ⅓ cup of granulated sugar
- ½ cup of unsalted butter, melted
To begin, preheat your oven to 325°F (163°C). In a mixing bowl, combine the graham cracker crumbs and sugar. Make sure the sugar is well-distributed so that every bite has a touch of sweetness. Then, slowly incorporate the melted butter until the mixture resembles wet sand.
Press this delightful mixture firmly into the bottom of a 9-inch springform pan for that perfect base. You can also gently push it up the sides if you wish, but the bottom crust is the star here. Bake for 10 minutes, then bring it out and let it cool while you work on the filling.
Making the creamy filling
Now we’re onto the star of the show: the filling! To craft this heavenly Butterfinger Cheesecake filling, you’ll need:
- 24 oz (3 packages) of cream cheese, softened
- 1 cup of granulated sugar
- 1 teaspoon of vanilla extract
- 3 large eggs
- 1 cup of roughly chopped Butterfinger candy bars (about 3-4 bars)
In a large mixing bowl, beat the cream cheese and sugar together until they’re smooth and creamy—no lumps allowed! Adding the vanilla extract enhances the flavor, so don’t skip this step. Gradually mix in the eggs, one at a time, ensuring each one is fully incorporated before adding the next. This method helps create a silky texture.
Lastly, fold in those tantalizing Butterfinger chunks. Each slice will have those delightful bites of crunchy, peanut-buttery goodness.
Baking the cheesecake
Time to bake! Pour your filling over the cooled crust and smooth it out with a spatula. This is where the magic happens. Place the springform pan into the preheated oven. To prevent cracking, consider using a water bath: wrap the outside of the pan in aluminum foil and place it in a larger roasting pan filled with hot water to halfway up the sides of the springform pan.
Bake for about 50-60 minutes, until the center is set but slightly jiggly. Remember, it will continue to set as it cools. Once baked, turn off the oven and crack the oven door slightly to let it cool gradually.
Cooling and storing your cheesecake
After an hour of cooling in the oven, transfer the cheesecake to your counter and let it cool completely to room temperature. Once it’s cool, cover it and refrigerate for at least 4 hours or overnight if time allows. This chilling time really enhances the flavors and texture—trust me, it’s worth the wait!
If you’re pressed for time, you can refrigerate it for just 2 hours, but allowing it to set overnight creates a much richer flavor profile.
Decorating with ganache and whipped cream
Finally, let’s make this Butterfinger Cheesecake even more irresistible! For the ganache, you’ll need:
- 1 cup of semisweet chocolate chips
- ½ cup of heavy cream
In a saucepan over medium heat, heat the cream until it’s just about to simmer. Pour this hot cream over the chocolate chips in a bowl and let them sit for a few minutes. Stir until it’s smooth and glossy.
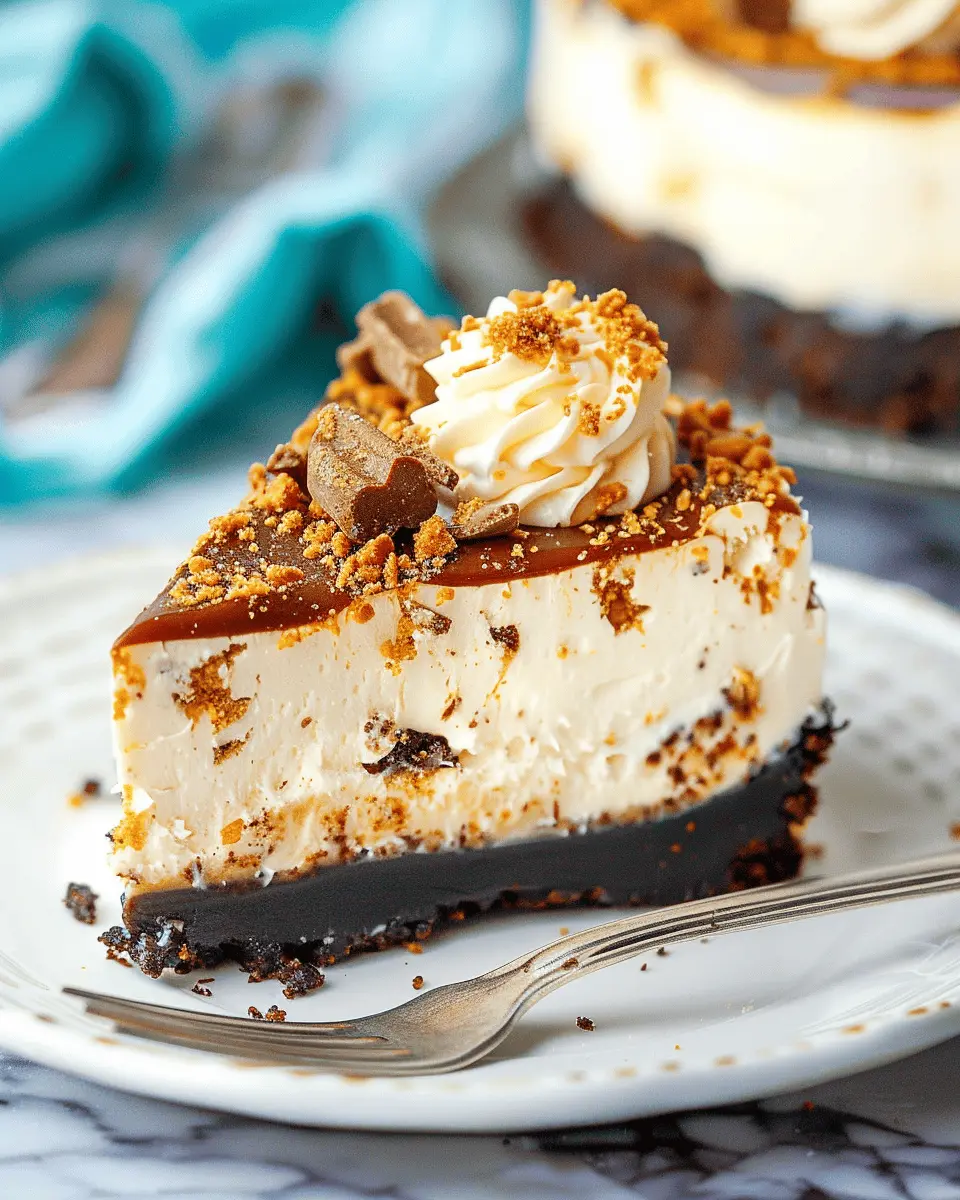
Pour the ganache over the chilled cheesecake, allowing some to drip down the sides for that stunning look. Top it off with dollops of whipped cream and, of course, more chopped Butterfinger bars for that extra crunch.
And that’s it! You’ve made a jaw-dropping Butterfinger Cheesecake! Serve it at your next gathering and watch it disappear. You can find more baking tips on sites like Food Network or Bon Appétit to enhance your baking skills even further. Enjoy!
Variations on Butterfinger Cheesecake
When it comes to indulging in a Butterfinger Cheesecake, the possibilities are deliciously endless. Let’s explore two delightful variations that cater to different preferences.
No-bake Butterfinger Cheesecake
If you’re short on time or simply want to avoid the oven, a no-bake Butterfinger Cheesecake is your go-to option. This version is just as creamy and rich as the traditional baked version, without the fuss.
- Ingredients:
- Cream cheese
- Heavy whipping cream
- Granulated sugar
- Crushed Butterfinger bars
- Graham cracker crust
- Instructions:
- Beat the cream cheese and sugar until smooth.
- Whip the cream until soft peaks form, then fold it into the cream cheese mixture.
- Stir in the crushed Butterfinger bars.
- Spread it into the crust and refrigerate for at least four hours.
This no-bake option not only saves you time but also gives you that melt-in-your-mouth texture that everyone loves. Plus, you can easily substitute the graham cracker crust with something like an Oreo crust for added flavor.
Gluten-free Butterfinger Cheesecake
Craving that Butterfinger Cheesecake but need it gluten-free? No problem! With a few simple swaps, you can enjoy this sweet treat without the gluten.
- Ingredients:
- Gluten-free graham crackers or almond flour
- Cream cheese
- Powdered sugar
- Crushed Butterfinger bars
- Instructions:
- Create your crust using gluten-free crackers or almond flour mixed with melted butter.
- Follow the standard recipe with cream cheese and sugar, ensuring all ingredients are certified gluten-free.
By using gluten-free ingredients, you can ensure that your dessert is enjoyable for everyone. Remember to check out this guide for a comprehensive list of gluten-free-friendly products. Enjoy baking these variations and let your creativity shine!
Cooking notes for Butterfinger Cheesecake
Common pitfalls and how to avoid them
When making your Butterfinger Cheesecake, one must-be-mindful of overmixing the batter. This can lead to a dense texture instead of the light and airy cheesecake you crave. To avoid this, mix on low speed and only until the ingredients are just combined. Additionally, using room temperature cream cheese is crucial; cold cream cheese can create lumps, so plan ahead to soften it.
Tips for achieving a creamy texture
Achieving that dreamy, creamy texture in your Butterfinger Cheesecake is easier than you think! Here are some tips:
- Use full-fat cream cheese: It adds richness and creaminess.
- Incorporate air: Gently fold in whipped cream or beaten eggs to keep the mixture light.
- Bake in a water bath: This helps regulate temperature and prevents cracking.
- Let it cool slowly: After baking, let your cheesecake cool in the oven with the door ajar. This prevents sudden temperature changes, which can lead to cracks.
For more cheesecake tips, check out this comprehensive guide to sweeten your baking journey!
Serving suggestions for Butterfinger Cheesecake
Pairing with beverages
When it comes to enjoying your Butterfinger Cheesecake, finding the perfect beverage can elevate the experience. Consider rich coffee or a smooth espresso; the bold flavors complement the cheesecake’s sweetness beautifully. If you’re looking for something lighter, a refreshing milkshake or even a flavorful herbal tea can balance the dessert’s creamy texture.
I’ve found that a homemade chocolate milk or a cold brew coffee also pairs exceptionally well with this decadent treat, making each bite a little more delightful. Check out resources like The Spruce Eats for ideas on creating your ideal beverage!
Perfect occasions for serving
Butterfinger Cheesecake is a showstopper at any gathering! Whether you’re celebrating a birthday, hosting a game night, or simply enjoying a movie marathon at home, this dessert fits right in. It’s perfect for potlucks, as it will surely attract attention and become the highlight of the dessert table.
Plus, if you’re looking for a sweet ending to a holiday meal, this cheesecake provides the right mix of nostalgia and indulgence, making it a great option for Thanksgiving or Christmas dinners.
Time breakdown for Butterfinger Cheesecake
When you’re diving into the delightful world of Butterfinger Cheesecake, it helps to know just how long the whole process will take. Here’s a handy breakdown:
Preparation time
Getting ready for this scrumptious cheesecake takes about 20 to 25 minutes. This includes gathering your ingredients such as cream cheese, sugar, and those irresistible Butterfinger bars.
Baking time
The baking itself requires about 50 to 60 minutes. It’s the perfect opportunity to whip up some coffee or set the table for a sweet indulgence.
Cooling time
Once baked, let your cheesecake cool in the fridge for at least 4 hours. This step is vital for achieving that creamy texture we all crave.
Total time
All totaled, you’re looking at around 5 to 6 hours from prep to serving. But trust me, every minute is worth it when you taste that Butterfinger goodness!
For more tips on baking times and temperatures, check out this helpful baking guide.
Nutritional Facts for Butterfinger Cheesecake
When indulging in a slice of Butterfinger Cheesecake, it’s helpful to know what you’re getting in terms of nutrition. Here’s a quick breakdown of its nutritional content to keep you informed as you savor every bite.
Calories
A typical serving of this creamy delight contains approximately 350 calories. While it might feel like a treat, it’s always good to be aware of your calorie intake.
Sugars
You can expect about 25 grams of sugar per slice. The sweet taste largely comes from the Butterfinger bars, adding that beloved crunch and flavor.
Protein
For those interested in protein content, each slice offers around 5 grams. While not a protein powerhouse, it adds a bit of substance for anyone enjoying it as a dessert after a filling meal.
Exploring the world of desserts doesn’t have to be a guilty pleasure when you’re informed. If you’re looking for a balanced treat, consider pairing your Butterfinger Cheesecake with fresh fruit or a warm cup of herbal tea for a delightful contrast. For more tips on making healthier choices in sweets, check out the resources on Healthline or Nutrition.gov.
FAQs about Butterfinger Cheesecake
Can I substitute different types of chocolate?
Absolutely! While this Butterfinger Cheesecake recipe shines with milk chocolate, you can experiment with dark or white chocolate for a different flavor profile. Dark chocolate offers a rich depth that can really complement the sweetness of the cheesecake. If you’re a fan of white chocolate, it provides a creamy sweetness that pairs beautifully with the peanut butter. Just keep in mind the sweetness levels; you might want to adjust the sugars accordingly to balance it out.
How do I store leftover cheesecake?
If you’re lucky enough to have leftovers, storing your Butterfinger Cheesecake is easy! Wrap it tightly in plastic wrap or aluminum foil, or place it in an airtight container. It can stay fresh in the refrigerator for about 5–7 days. You can also freeze it for up to 3 months. Just remember to let it thaw overnight in the refrigerator before indulging again. For more tips on cheesecake storage, you can check out sources like Food Network.
What can I use instead of peanut butter?
If you’re looking for a Butterfinger Cheesecake but need a peanut butter substitute, there are plenty of nut-free options available. Almond butter or cashew butter can deliver a similar creaminess, though they have distinct flavors. For an entirely nut-free version, sunflower seed butter works wonderfully—just ensure to choose one that has a similar texture to peanut butter. This way, you maintain the cheesecake’s richness without compromising on taste.
Feel free to reach out with more questions about making this scrumptious Butterfinger Cheesecake! Knowing your options can inspire a delightful baking adventure.
Conclusion on Butterfinger Cheesecake
Final thoughts and encouragement to try it out!
In conclusion, creating a Butterfinger Cheesecake is not just about satisfying your sweet tooth; it’s about bringing joy to those around you. Imagine sharing this delightful dessert at your next gathering or simply treating yourself after a long day. The creamy filling, combined with crunchy Butterfinger pieces, promises a taste experience that’s both nostalgic and indulgent.
So why not gather your ingredients and give this recipe a try? You’re sure to impress friends and family alike. For more inspiration, check out sites like Food Network or Taste of Home for similar dessert ideas. Happy baking!
PrintButterfinger Cheesecake Delight: An Indulgent Homemade Treat
A creamy and decadent Butterfinger cheesecake that’s perfect for special occasions or a sweet indulgence.
- Prep Time: 20 minutes
- Cook Time: 60 minutes
- Total Time: 4 hours 20 minutes
- Yield: 10 servings 1x
- Category: Dessert
- Method: Baking
- Cuisine: American
- Diet: Vegetarian
Ingredients
- 1 ½ cups graham cracker crumbs
- ½ cup unsalted butter, melted
- 2 (8 ounce) packages cream cheese, softened
- 1 cup granulated sugar
- 1 teaspoon vanilla extract
- 2 large eggs
- 1 cup whipped cream
- 4 Butterfinger candies, crushed
Instructions
- Preheat the oven to 325°F (160°C).
- In a bowl, combine graham cracker crumbs and melted butter. Press mixture into the bottom of a springform pan.
- In a mixing bowl, beat cream cheese and sugar until smooth. Add vanilla and mix well.
- Incorporate eggs one at a time, mixing until just combined.
- Gently fold in whipped cream and crushed Butterfinger candies.
- Pour cheesecake mixture over the crust and smooth the top.
- Bake for 50-60 minutes until set. Turn off oven and let cheesecake cool in the oven with the door ajar.
- Chill the cheesecake in the refrigerator for at least 4 hours before serving.
Notes
- This recipe works best with room-temperature ingredients.
- Garnish with additional crushed Butterfinger before serving.
Nutrition
- Serving Size: 1 slice
- Calories: 350
- Sugar: 28g
- Sodium: 200mg
- Fat: 22g
- Saturated Fat: 12g
- Unsaturated Fat: 8g
- Trans Fat: 0g
- Carbohydrates: 30g
- Fiber: 1g
- Protein: 5g
- Cholesterol: 70mg
Keywords: Butterfinger Cheesecake, cheesecake, dessert, homemade treats