Introduction to Old-Fashioned Homemade Banana Pudding
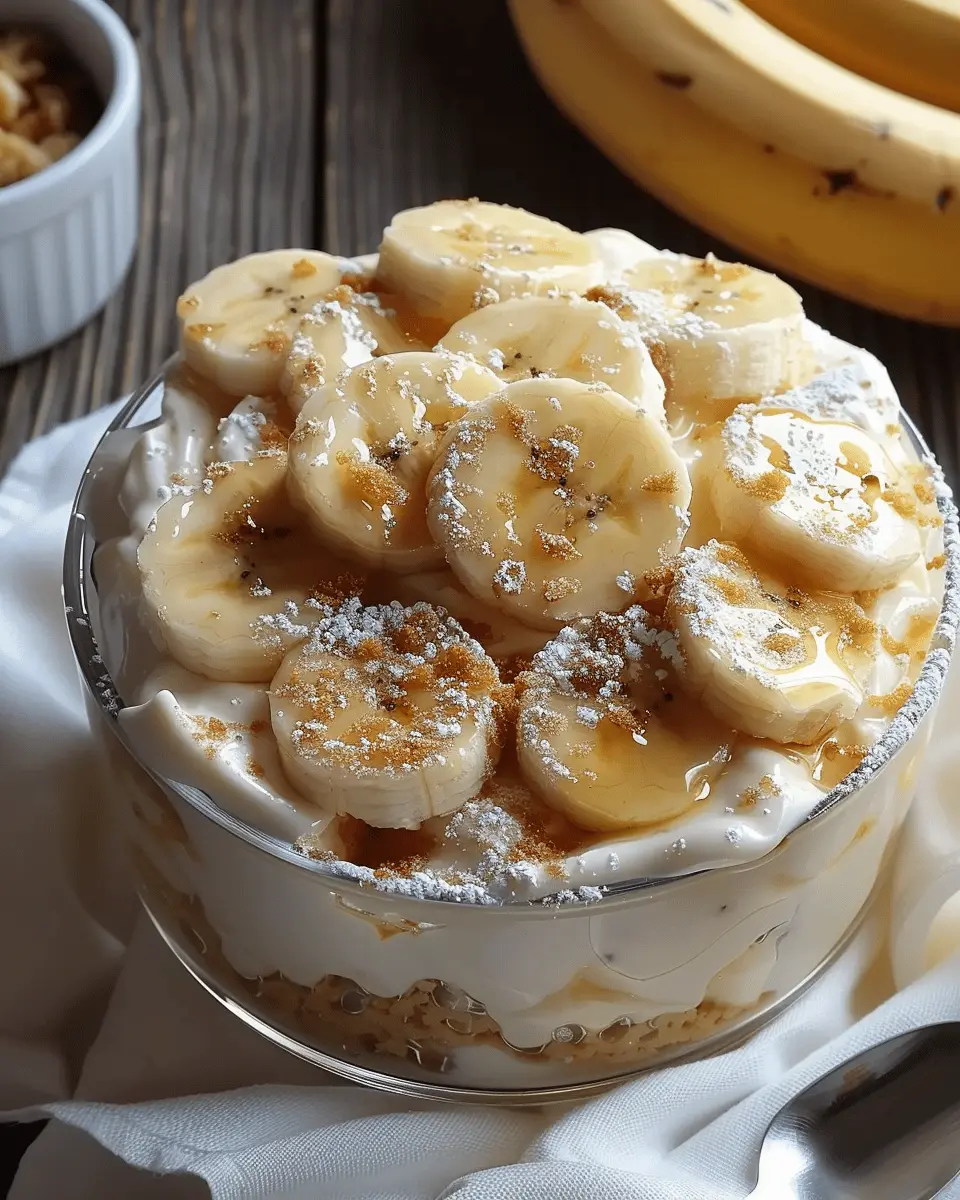
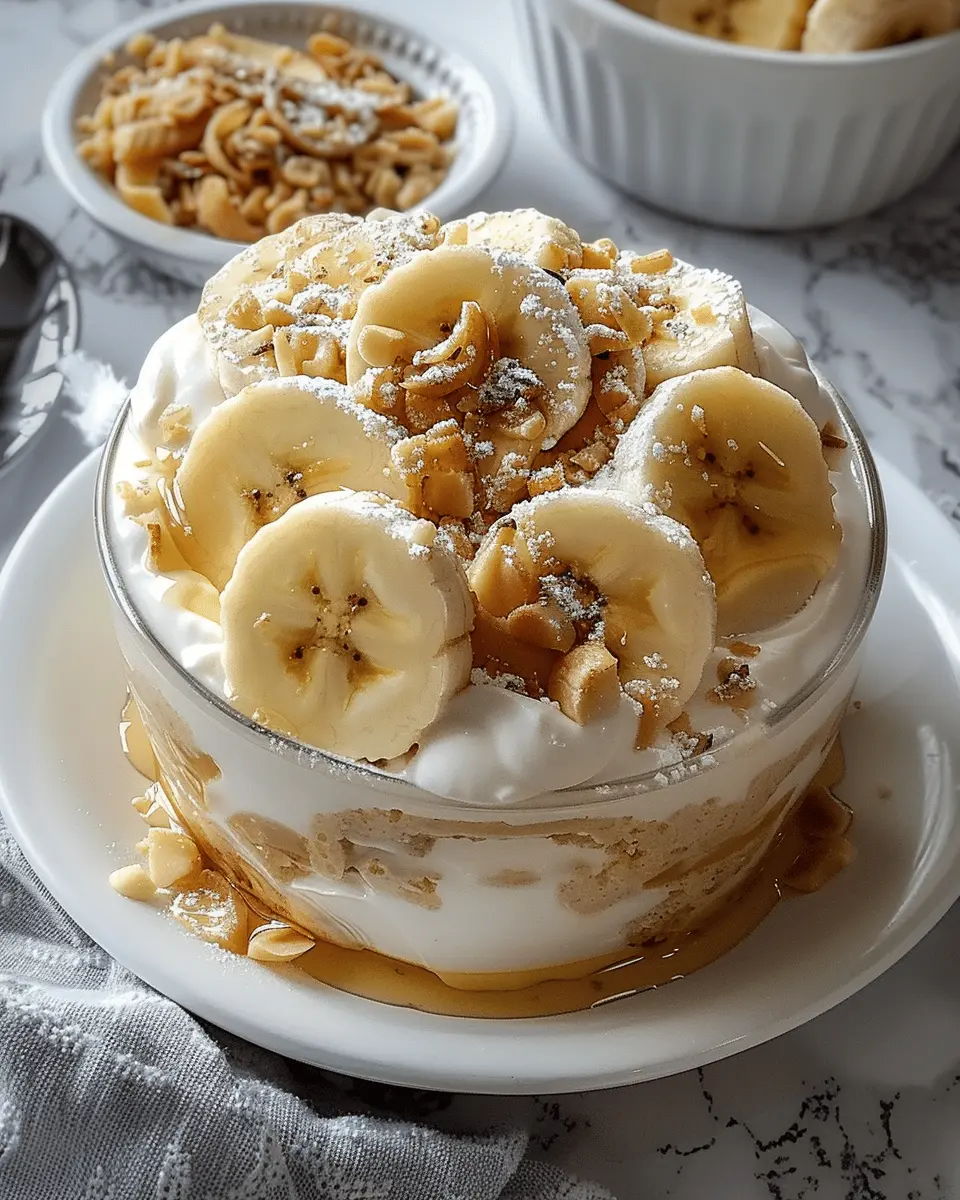
If you’re searching for a dessert that feels like a warm hug from your grandmother, look no further than old-fashioned homemade banana pudding. This classic treat has graced family tables for generations and continues to be a favorite for a reason. It’s the perfect combination of creamy goodness, sweet bananas, and soft vanilla wafers that creates a delightful texture and flavor explosion in every bite.
Why Banana Pudding is a Timeless Classic
First and foremost, banana pudding is incredibly simple to make, requiring only a handful of ingredients that you probably already have in your pantry. Think about it: ripe bananas, milk, sugar, and vanilla wafers. These are staples in many households, making this indulgence accessible for even the most novice of bakers.
Moreover, its versatility is unparalleled. You can serve it at family gatherings, potlucks, or simply enjoy it on a quiet evening at home. This makes banana pudding not just a dessert but a shared experience, evoking fond memories and creating new ones with loved ones.
A bit of trivia: Did you know that banana pudding has its roots in the early 1900s? As noted by the National Food & Beverage Foundation, banana pudding’s rise to popularity coincided with the introduction of commercial bananas to the American market, making it a staple at dinner tables across the country.
Now, let’s talk about flavor. The sweet, creamy custard perfectly complements the natural sweetness of the bananas and the slight crunch of the wafers, creating a harmonious symphony of taste. If you’ve ever felt the joy of that first spoonful, you’ll understand why banana pudding has stood the test of time, effortlessly winning hearts and taste buds everywhere.
In this article, we’ll dive into the step-by-step process of creating your very own old-fashioned homemade banana pudding. With easy-to-follow instructions and tips, you’ll be well on your way to making a dessert that will not only impress your friends and family but also bring a little nostalgia to your day. So grab your mixing bowls and let’s get started on this delightful journey!
Ingredients for Old-Fashioned Homemade Banana Pudding
Essential ingredients for the perfect pudding
Creating the perfect old-fashioned homemade banana pudding starts with the essentials. Gather the following ingredients for a delightful experience:
- Ripe bananas: About 3-4 medium-sized, sliced. They not only add natural sweetness but also provide a creamy texture.
- Vanilla wafers: A traditional choice, these crunchy cookies are key for texture and flavor.
- Milk: Whole milk is ideal for richness. You’ll need around 4 cups.
- Granulated sugar: Approximately 3/4 cup will sweeten the pudding.
- All-purpose flour: 1/3 cup helps thicken the mixture.
- Eggs: 2 large eggs, beaten. They add creaminess and stability to the pudding.
- Vanilla extract: A generous splash (about 1 teaspoon) enhances the flavor burst.
For added recipe inspiration, check out foodnetwork.com for more variations on classic desserts.
Optional toppings and variations
Want to elevate your old-fashioned homemade banana pudding? Consider these delightful options:
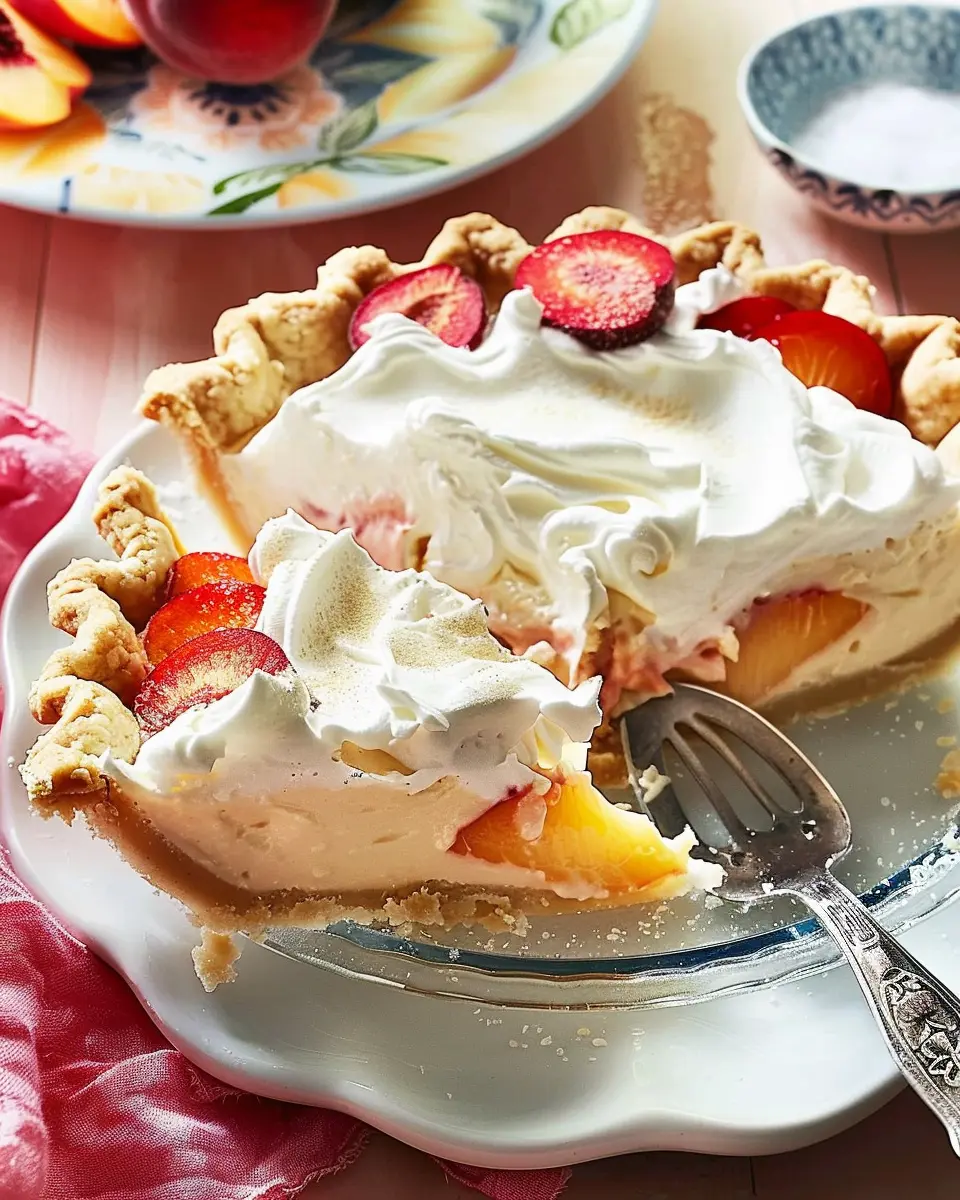
- Whipped cream: A dollop (or more!) can make your serving feel even more indulgent.
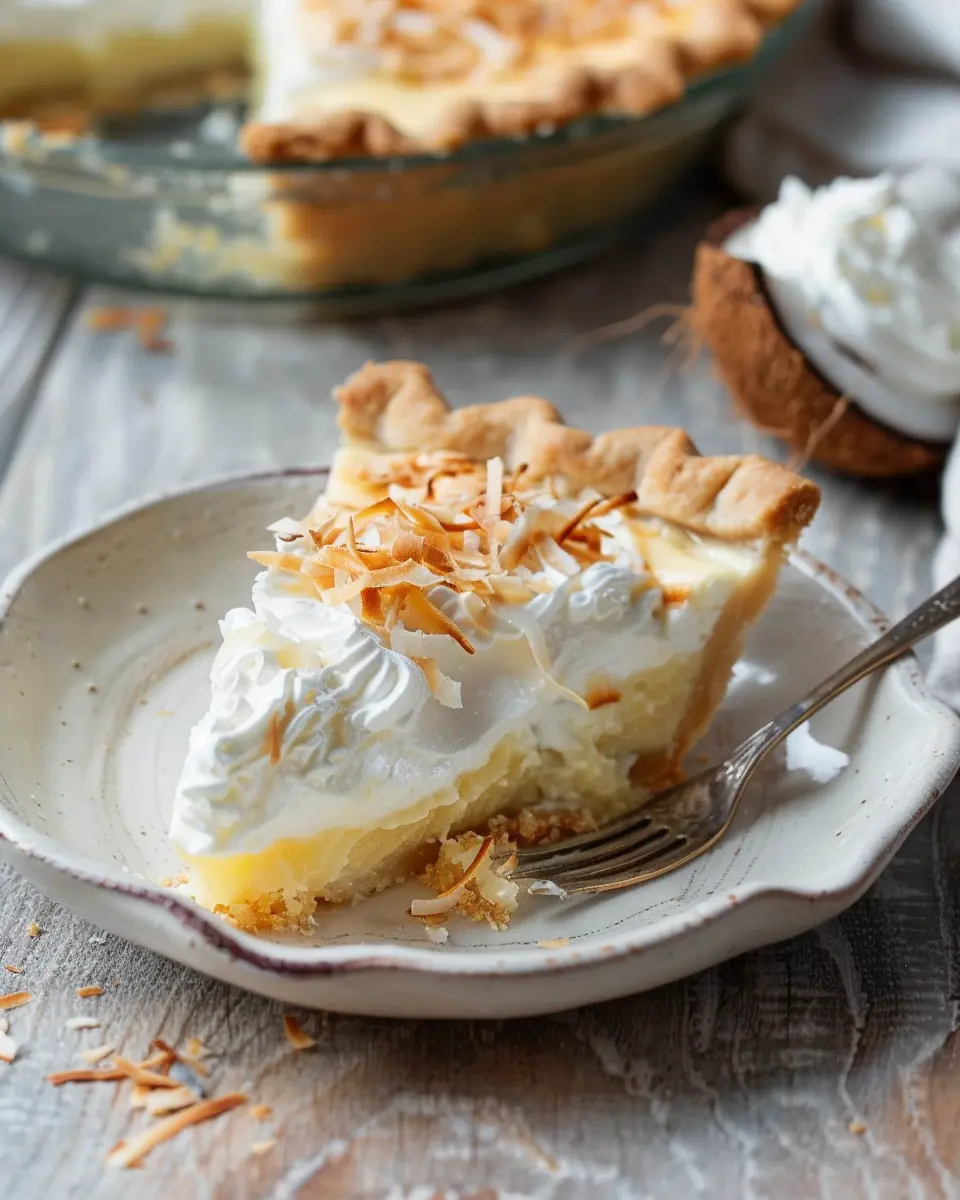
- Shredded coconut: For a tropical twist, sprinkle some on top.
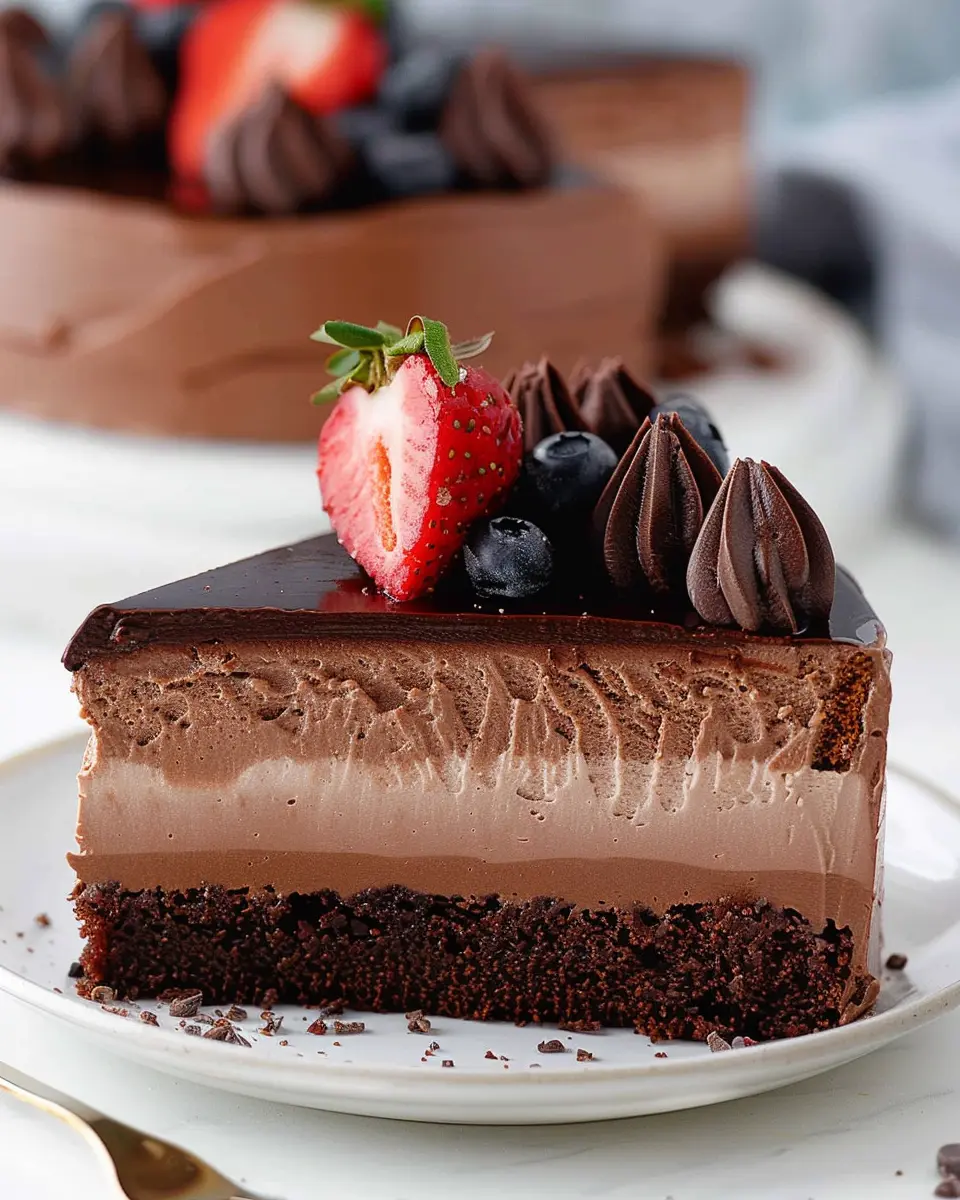
- Chocolate shavings: Melt some chocolate and add shavings to create a rich flavor contrast.
- Nutty additions: Chopped walnuts or pecans offer a crunchy finish that complements the softness of the pudding nicely.
Feel free to mix and match these toppings to create your unique signature dish. Personalizing your old-fashioned banana pudding not only makes it your own but could also impress guests at gatherings!
Step-by-Step Preparation for Old-Fashioned Homemade Banana Pudding
Making old-fashioned homemade banana pudding is all about taking your time and enjoying the process. You’ll end up with a deliciously creamy dessert that’s as comforting as a warm blanket on a chilly evening. Ready to dive into this delightful journey? Let’s get started!
Whisking the Dry Ingredients
Begin by gathering your essentials: granulated sugar, all-purpose flour, and a pinch of salt. In a medium bowl, use a whisk to combine:
- 2/3 cup of granulated sugar
- 1/3 cup of all-purpose flour
- 1/4 teaspoon of salt
Whisk these ingredients together until they are well mixed, which helps to break up any clumps. This is an easy step, but it lays a solid foundation for the creamy texture you want in your pudding. Did you know? Mixing your dry ingredients thoroughly can prevent lumps from forming later on.
Gradually Adding the Milk
Next up, it’s time to incorporate the milk. You’ll need 3 cups of whole milk for that rich flavor. Slowly pour the milk into your whisked dry ingredients while continuing to stir. This gradual addition helps ensure that your mixture remains smooth.
If you’re interested in alternatives, consider using almond or oat milk for a dairy-free version. However, note that the flavor and texture may differ slightly. Once the mixture is combined, set it aside for a moment while you prepare to temper your egg yolks.
Tempering the Egg Yolks
In a separate bowl, whisk together 4 large egg yolks until they’re light and frothy. The goal here is to bring the temperature of the eggs closer to that of the milk mixture without scrambling them. Here’s how to do it:
- Gradually add a cup of the warm milk mixture to the egg yolks while whisking constantly.
- This step is crucial as it prevents curdling in your pudding. Once combined, pour the egg-yolk mixture back into the saucepan with the rest of the milk mixture.
Cooking the Pudding Mixture
Now it’s time to bring it all together. Place your saucepan on medium heat and cook, stirring continuously, until the mixture thickens, which typically takes about 5-7 minutes. You’ll know it’s ready when it coats the back of a spoon. Keep an eye on it—there’s nothing worse than a burnt custard!
Once thickened, remove the saucepan from the heat and stir in 1 tablespoon of vanilla extract for that warming aroma that elevates old-fashioned homemade banana pudding to the next level.
Layering the Pudding
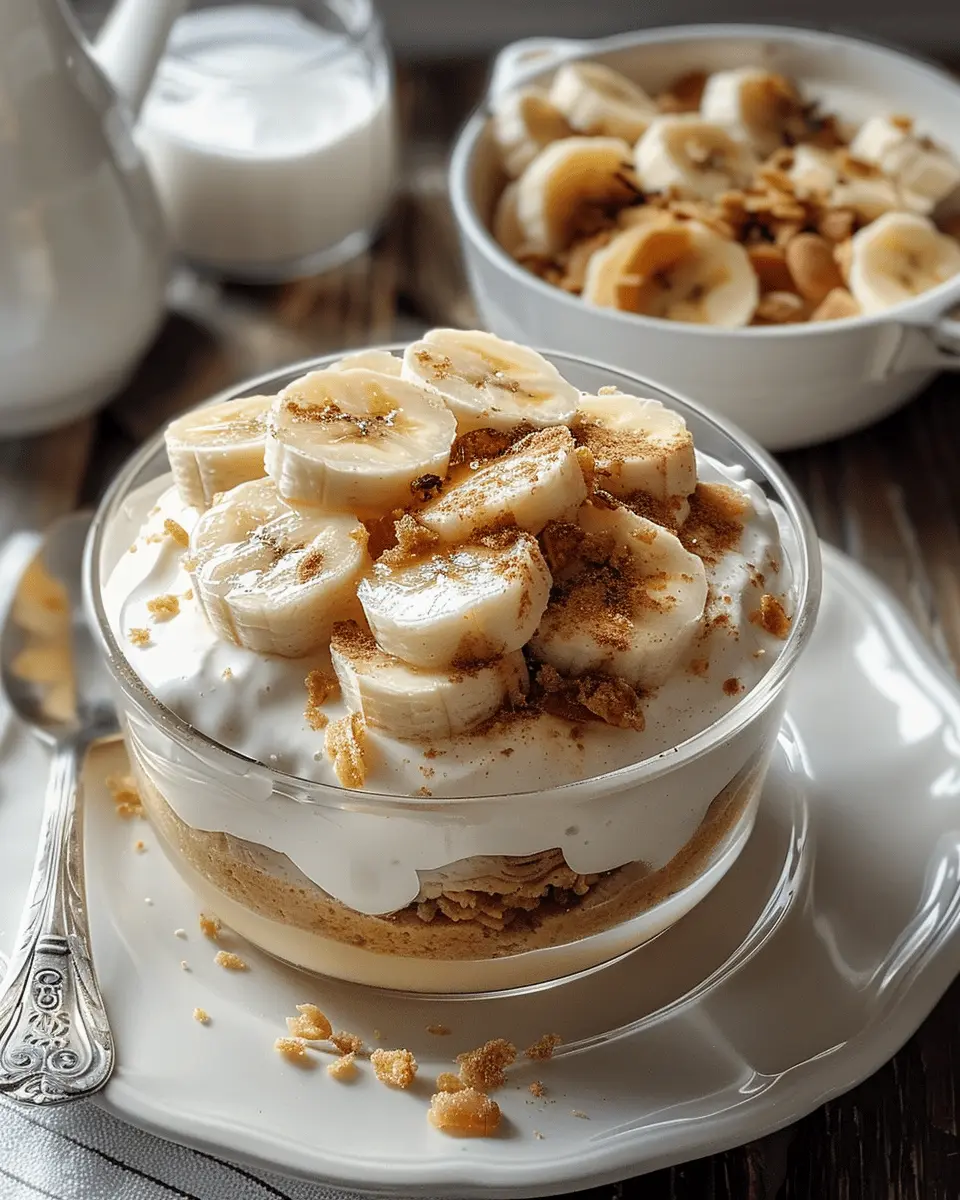
Now for the fun part—layering! In a trifle dish or individual cups, start with a layer of vanilla wafers, followed by a layer of sliced bananas (about 3 ripe bananas). Repeat the layering with more pudding, cookies, and bananas until you reach the top. Finish with a layer of pudding, making sure it’s even and smooth.
Refrigerating for the Perfect Texture
Cover the dish with plastic wrap, ensuring it touches the surface of the pudding to prevent a skin from forming. Refrigerate for at least 4 hours (or overnight, if you can resist!). This wait is key to letting the flavors meld beautifully.
Preparing the Whipped Cream Topping
No banana pudding is complete without a light, fluffy whipped cream. To prepare:
- 1 cup of heavy cream
- 2 tablespoons of powdered sugar
- 1 teaspoon of vanilla extract
In a chilled mixing bowl, beat the heavy cream until soft peaks form, then gradually add the powdered sugar and vanilla. Beat until you reach your desired consistency. Spread or pipe the whipped cream over the top of your cooled pudding for that perfect finishing touch.
Now, grab your spoons and dig into this old-fashioned homemade banana pudding! Not only is it a labor of love, but it’s also a sweet treat that’s sure to bring smiles around the table. For more delicious dessert insights, check out Baker’s Secret for tips and tricks. Enjoy your culinary adventure!
Variations on Old-Fashioned Homemade Banana Pudding
Gluten-Free Banana Pudding
For those navigating gluten sensitivities, you can easily whip up a batch of old-fashioned homemade banana pudding without the worry! Simply swap traditional flour for gluten-free cornstarch or arrowroot powder. These alternatives will help thicken your pudding beautifully. Ensure that any store-bought cookies, like vanilla wafers, are labeled gluten-free, or try making your own using gluten-free flour. This version is just as creamy and delightful as the classic!
Vegan Banana Pudding Alternatives
Craving old-fashioned homemade banana pudding but following a plant-based diet? Fear not! You can create a vegan version that’s equally satisfying. Instead of eggs and milk, use coconut milk or almond milk along with a flaxseed meal as an egg substitute. For sweetness, you could opt for maple syrup or agave nectar to match that classic flavor. Adding a pinch of turmeric or vanilla extract can enhance the taste further while keeping everything cruelty-free.
These variations not only cater to dietary needs but also introduce new flavors to a timeless dessert. Have you ever tried adding chocolate chips or a dash of cinnamon for an extra twist? It’s all about personalizing your experience.
Looking to deepen your culinary skills? Check out resources like The Kitchn for innovative tips and tricks that can elevate your pudding-making game. Whether you enjoy it warm or chilled, these adaptations ensure that everyone can indulge in a comforting bowl of banana pudding.
Cooking Tips and Notes for Old-Fashioned Homemade Banana Pudding
Common pitfalls and how to avoid them
Creating old-fashioned homemade banana pudding can sometimes feel like a delicate science. Here are a few common pitfalls to watch for:
- Overcooking the pudding: If you cook it too long, the custard can become grainy. Keep an eye on it and remove it from the heat just as it thickens.
- Soggy bananas: To prevent your bananas from browning and getting mushy, slice them just before assembling the pudding layers.
- Curdled custard: Adding cold milk directly to hot eggs can result in scrambling. Temper the eggs by whisking in a little hot mixture first before combining.
Storage tips for leftovers
If you’re lucky enough to have leftovers (or if you’re just prepping for the week), here’s how to keep your old-fashioned homemade banana pudding fresh:
- Cover tightly: Use plastic wrap or an airtight container to minimize exposure to air.
- Refrigerate: Homemade banana pudding keeps well in the fridge for up to 2-3 days. However, for optimal texture, it’s best enjoyed within the first day or two when the bananas aren’t too soft.
- Avoid freezing: The texture of the pudding can change when frozen, so it’s better to stick to refrigeration.
For more insights, check out Food Safety Guidelines. Happy cooking!
Serving Suggestions for Old-Fashioned Homemade Banana Pudding
Creative Ways to Serve Banana Pudding
When it comes to presenting your old-fashioned homemade banana pudding, think outside the box! Instead of just the classic bowl, consider layering the pudding in individual glass jars for a charming, rustic touch. You could also add a dollop of whipped cream and top it with a sprinkle of graham cracker crumbs, giving it a delightful crunch.
Another fun idea is to freeze it into popsicle molds for a refreshing summertime treat. Serve it alongside sliced fresh bananas and a drizzle of caramel sauce for an extra special indulgence.
Pairing Ideas with Coffee or Tea
Looking for the perfect beverage to elevate your dessert? Pair your old-fashioned homemade banana pudding with a rich cup of coffee or a soothing herbal tea. The robust flavor of a dark roast coffee complements the sweetness perfectly, while a calming chamomile tea can provide a nice contrast.
If you’re feeling adventurous, a creamy chai latte could enhance the spiced notes of the pudding. Check out this guide on coffee and dessert pairings for more inspiring ideas.
The next time you’re hosting friends, incorporate these serving suggestions to make your banana pudding the star of the show!
Time Breakdown for Old-Fashioned Homemade Banana Pudding
Preparation Time
Making your own old-fashioned homemade banana pudding is a joy that starts with a little bit of prep! You’ll spend about 20 minutes gathering your ingredients and whipping up that delicious custard base. Make sure to slice your bananas just before you layer them to keep them fresh and vibrant.
Cooking Time
Once your pudding base is ready, it’s time to let it thicken on the stove. This usually takes about 15-20 minutes, stirring constantly to achieve that perfect creamy texture. Patience is key here, so take your time!
Total Time
In total, you’re looking at roughly 45 minutes to an hour from start to finish. This includes prep, cooking, and cooling time. Just think about how rewarding it will be to serve your guests a delectable, homemade dessert that they won’t soon forget! For more tips and tricks on dessert making, check out Serious Eats for insight on further enhancing your baking skills.
Nutritional Facts for Old-Fashioned Homemade Banana Pudding
When indulging in a classic old-fashioned homemade banana pudding, it’s good to know what you’re treating yourself to. Each serving typically contains around 350 calories, making it a delightful dessert without overflowing your calorie count for the day.
Key Nutritional Breakdown
- Carbohydrates: Roughly 50 grams, primarily from bananas and sugar, offering quick energy.
- Fats: About 15 grams, mainly from whole milk and whipped cream, which contribute to its creamy texture.
- Protein: Approximately 6 grams, mainly sourced from milk and any added toppings, providing some sustenance.
- Vitamins and Minerals: Rich in potassium from bananas and some calcium from milk, supporting your overall health.
For a deeper dive into nutritional guidelines, check out the U.S. Department of Agriculture’s Nutrition Database for more insights. Enjoy each blissful spoonful!
FAQs about Old-Fashioned Homemade Banana Pudding
How can I make my pudding thicker?
If you find that your old-fashioned homemade banana pudding isn’t as thick as you’d like, don’t fret! There are several easy tweaks you can try:
- Increase Cornstarch: Add an extra tablespoon of cornstarch to your mixture. Just be sure to dissolve it in a bit of cold milk first to avoid clumping.
- Cook Longer: Sometimes, a bit more stove time is all you need. Cook the pudding on low heat until it coats the back of a spoon.
- Chill Well: Allow it to cool in the fridge for a few hours. Refrigerating helps thicken the pudding as well.
Can I use ripe bananas for the recipe?
Absolutely! In fact, using ripe bananas for your old-fashioned homemade banana pudding enhances both the flavor and sweetness. The natural sugars in ripe bananas give your pudding that authentic taste. Just remember, the riper the better—think speckled brown!
What are some good alternatives for heavy cream?
If you’re looking to lighten up your old-fashioned homemade banana pudding or accommodate dietary restrictions, there are great alternatives to heavy cream:
- Coconut Cream: This adds a wonderful flavor and is perfect for those looking for a dairy-free option.
- Greek Yogurt: This is a lower-calorie choice that provides creaminess along with protein.
- Silken Tofu: Blend silken tofu for a vegan alternative that adds a silky texture without the creaminess of traditional heavy cream.
By incorporating these simple changes, you can perfect your banana pudding recipe and maybe even share it at your next gathering! For more tips and techniques, feel free to explore resources like Serious Eats or Bon Appétit for additional baking wisdom.
Conclusion on Old-Fashioned Homemade Banana Pudding
Celebrating homemade comfort food
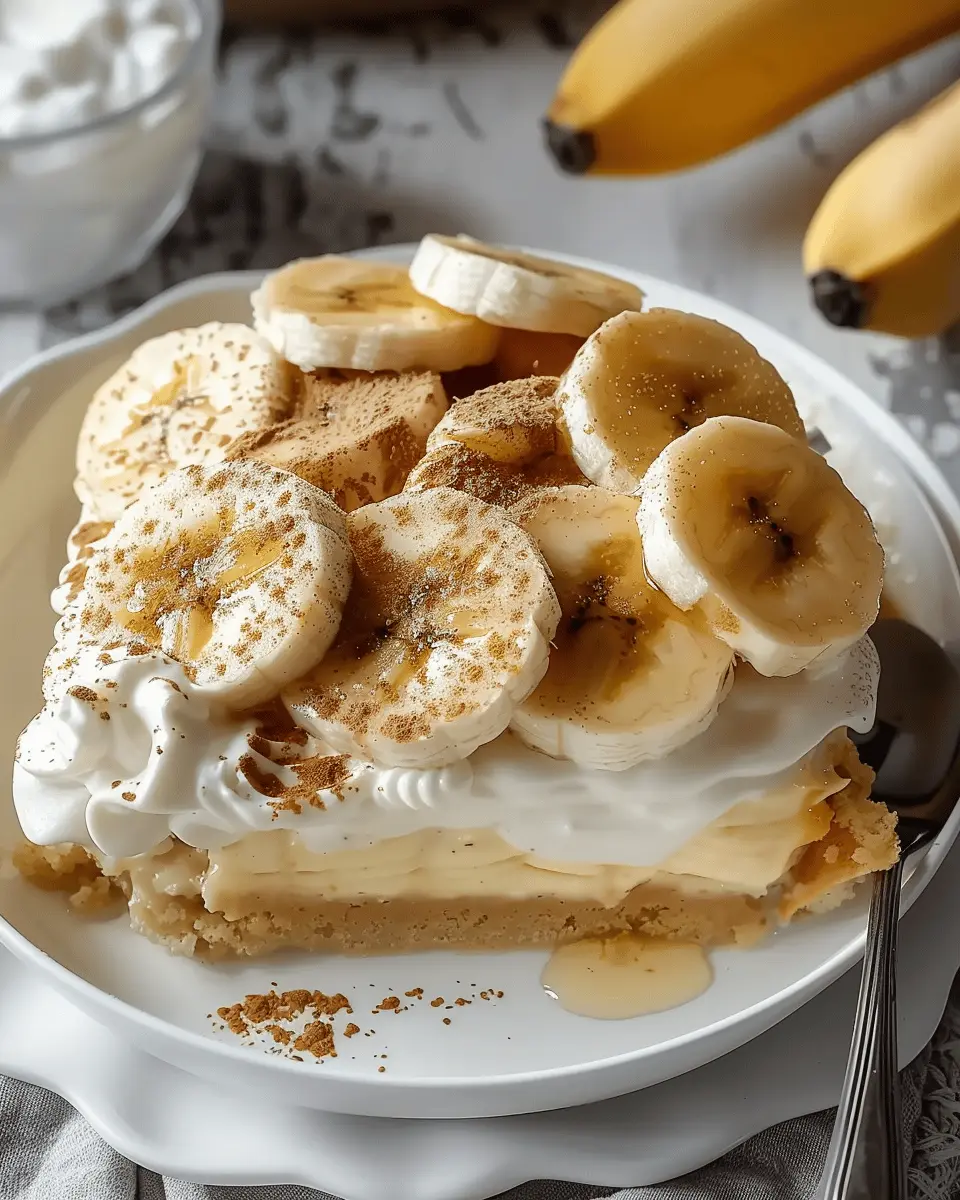
There’s something truly special about sharing old-fashioned homemade banana pudding with loved ones. This delightful dessert not only brings a sense of nostalgia but also allows you to create lasting memories in your kitchen. As you indulge in layers of creamy pudding, vanilla wafers, and sliced bananas, you’ll find comfort in its rich flavors and textures.
Take a moment to appreciate the love and effort that goes into making this classic treat. Experiment with your own variations—like adding a hint of cinnamon or using Turkey Bacon for a savory twist. Remember, whether you serve it at a family gathering or enjoy it solo, banana pudding is more than just a dessert; it’s a warm embrace from the past. For more fun twists on this classic, check out resources from America’s Test Kitchen.
PrintOld-Fashioned Homemade Banana Pudding: Creamy and Indulgent Delight
A creamy and indulgent dessert made with layers of bananas and pudding, perfect for a nostalgic treat.
- Prep Time: 20 minutes
- Cook Time: 15 minutes
- Total Time: 2 hours
- Yield: 6 servings 1x
- Category: Desserts
- Method: No-bake
- Cuisine: American
- Diet: Vegetarian
Ingredients
- 4 large ripe bananas
- 1 cup granulated sugar
- 1/3 cup all-purpose flour
- 1/4 teaspoon salt
- 2 cups whole milk
- 3 large egg yolks
- 1 teaspoon vanilla extract
- 2 cups whipped cream
- 1 box vanilla wafers
Instructions
- In a saucepan, combine sugar, flour, and salt.
- Gradually stir in milk and cook over medium heat until thickened.
- Whisk egg yolks in a separate bowl, and temper them with hot mixture.
- Return to heat and cook for a few more minutes; add vanilla.
- Layer vanilla wafers, sliced bananas, and pudding in a dish. Repeat layers.
- Top with whipped cream and chill before serving.
Notes
- For added flavor, consider using a pinch of cinnamon.
- Ensure bananas are ripe for the best sweetness.
Nutrition
- Serving Size: 1 cup
- Calories: 350
- Sugar: 25g
- Sodium: 150mg
- Fat: 10g
- Saturated Fat: 5g
- Unsaturated Fat: 3g
- Trans Fat: 0g
- Carbohydrates: 60g
- Fiber: 1g
- Protein: 6g
- Cholesterol: 100mg
Keywords: banana pudding, homemade pudding, dessert